Xampp deployment

XAMPP is an all-in-one web server solution by Apache Friends, bundling Apache HTTP server, MariaDB database, and PHP/Perl interpreters. It's a versatile toolbox for web development, offering universal compatibility across Windows, macOS, and Linux. As an open-source project, XAMPP encourages community collaboration and innovation in web development. With its local server environment, it serves as a testing ground for dynamic web applications, providing a convenient and comprehensive solution for developers.
Exposed Ports
| Port Type | Port Number | Description |
|---|---|---|
| Http | 80 | XAMPP is accessible on port 80. |
| Tcp | - | - |
Volume Mounts
XAMPP uses volume mounts to manage web pages. You can set these when running the container:
| Volume | Description |
|---|---|
-v ~/my_web_pages:/www tomsik68/xampp | Path to your web pages directory. |
Environment Variables
| Environment value: | Decription |
|---|---|
| - | - |
Installation
| Description | Decription |
|---|---|
| Docker Image | Xampp👈(click me,for the dockerhub image) |
| Application name | Eg: zamp1(you can put any name) |
| Resource Allocation | 0-100%(10 % of your allocated resources (CPU, RAM) will be used for this application.) |
Protocol | |
| Http: | 80 |
| Tcp: | |
| Advanced | Install with Default |
Steps And Procedure
- Docker image of this application consists of following layers :
'FROM debian:buster' Taking debian:buster as the base image.

And updating and installing all the required softwares like 'openssh-server' 'supervisor' 'net-tools'

Installing the Xampp software. And configuring Xampp to Enable web interface, error display in php.

And creating a /www folder and a symbolic link to it in /opt/lampp/htdocs. This is convenient because it doesn't interfere with xampp, phpmyadmin or other tools in /opt/lampp/htdocs.

And exposing 3306, 22 and 80 ports.
Deploy Xampp on Scaleinfinite
This deployment utilizes the official Xampp Docker image. Here's a step-by-step guide to get you started:
- Begin by navigating to the "Create Apps" page and use the search bar to find the scaleinfinite/xampp application.
- Click on the "Install" button to initiate the installation process.
- Fill in all the required fields with the necessary information.
- If you prefer, you can click on the "Advanced" option to access additional settings (this step is optional).
- After making your selections, press the "Install" button to proceed.
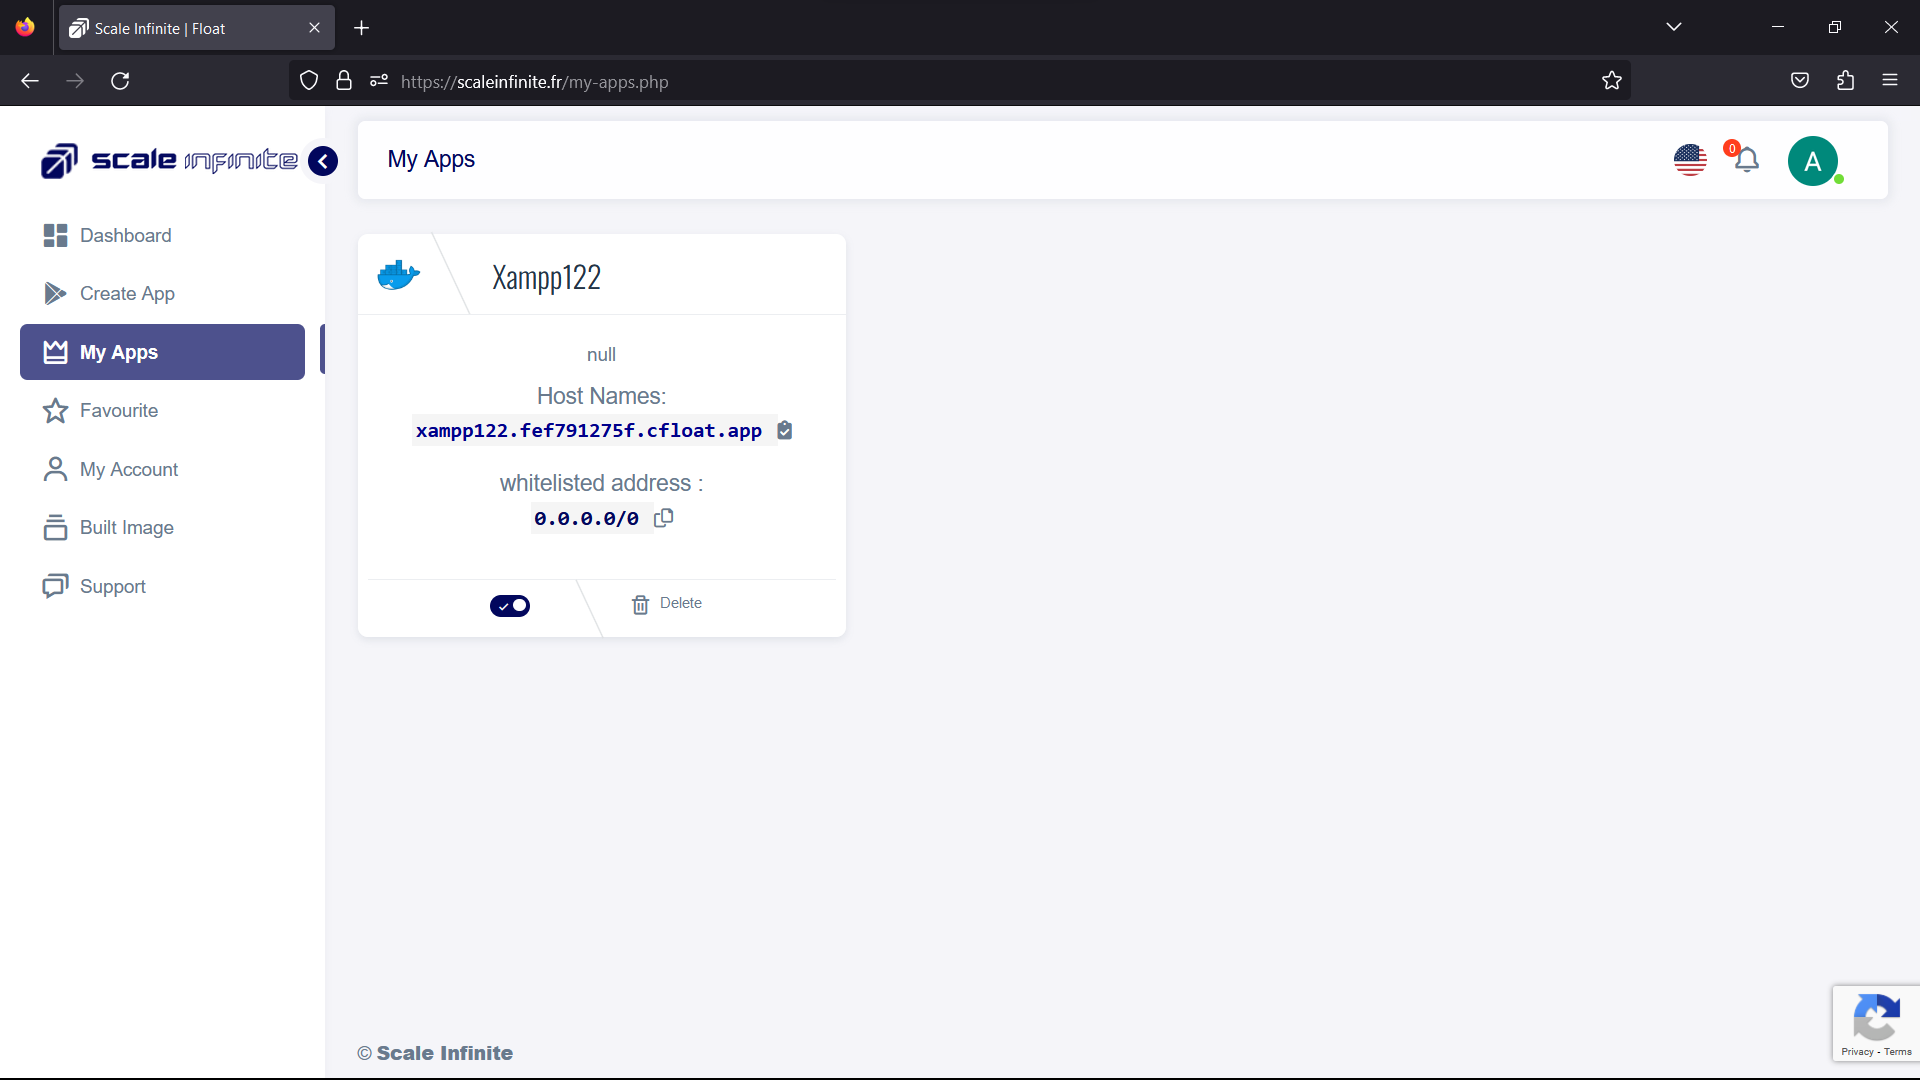
- Once the installation is complete, you'll be directed to the "My Apps" page, where you'll find a list of all the applications you've deployed.
- Copy the Hostname of the xampp application without the NodePort and paste it into your preferred browser's address bar.
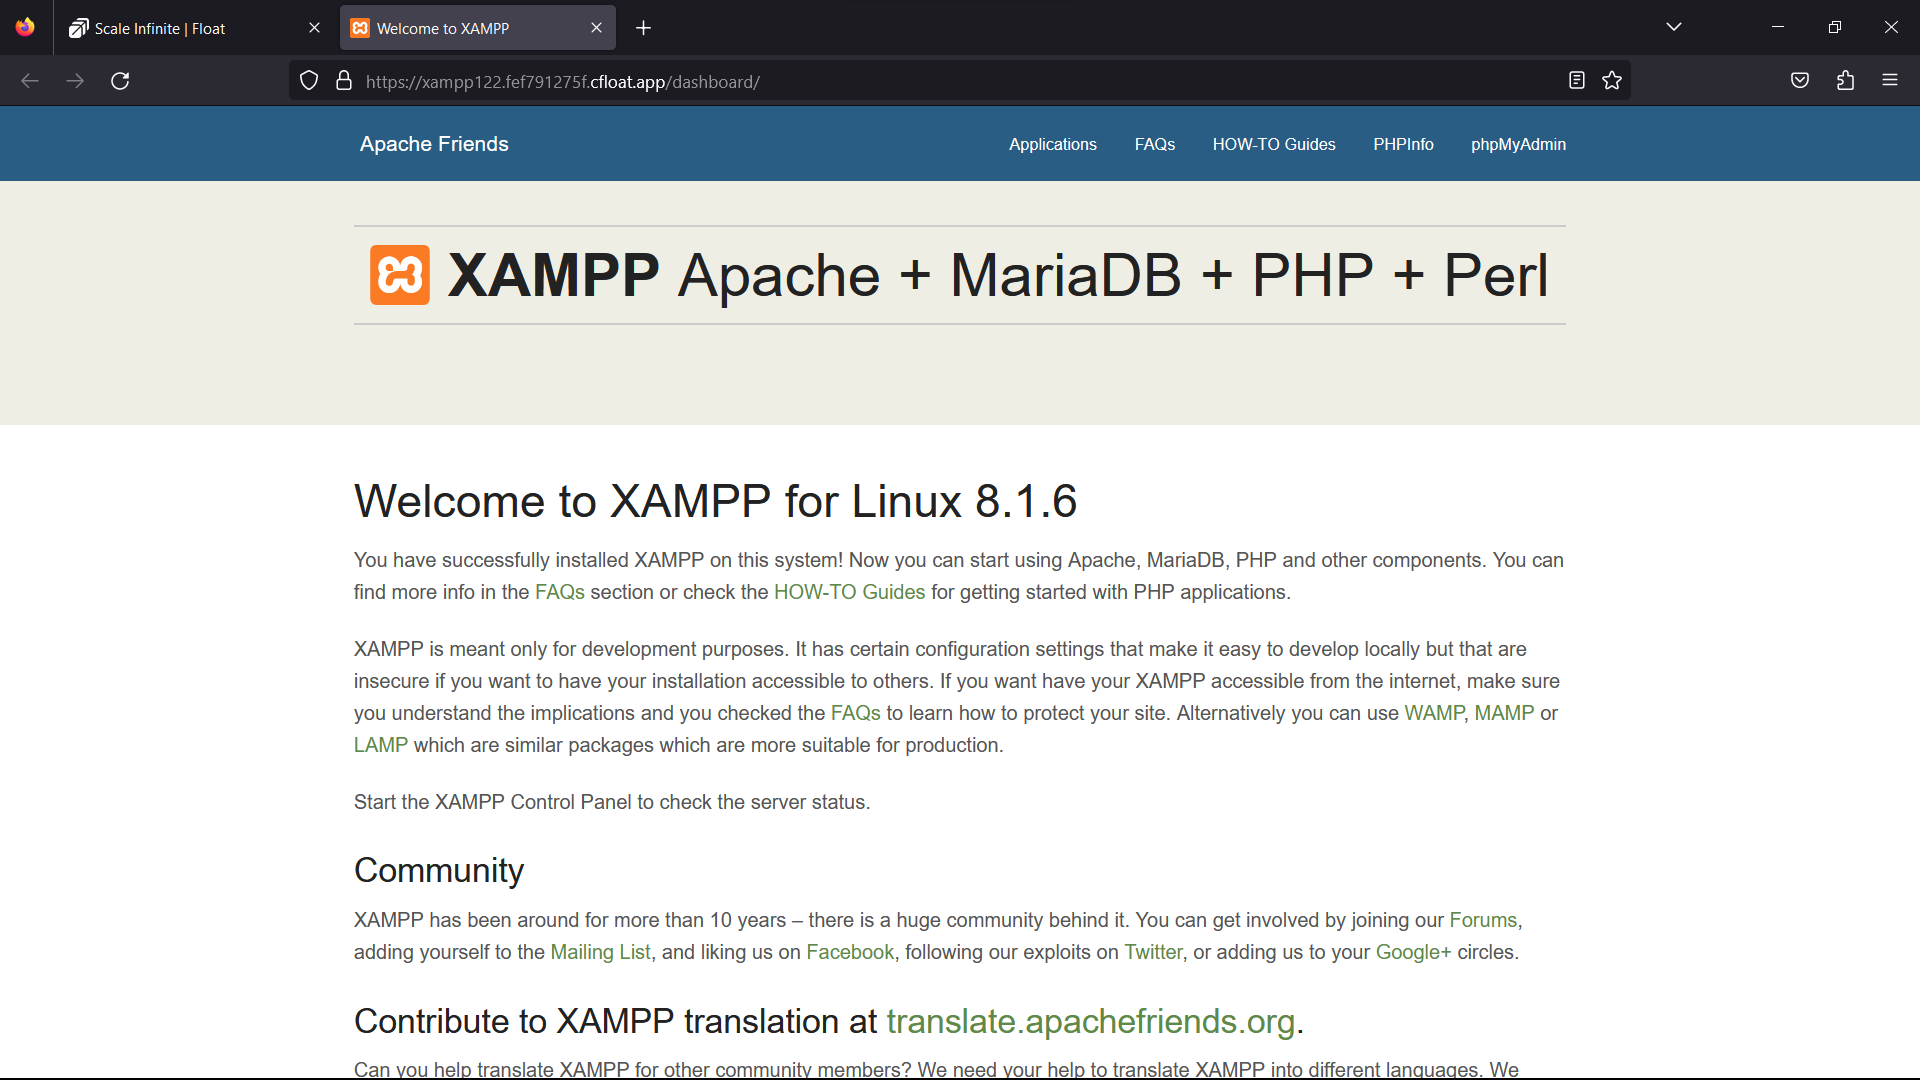
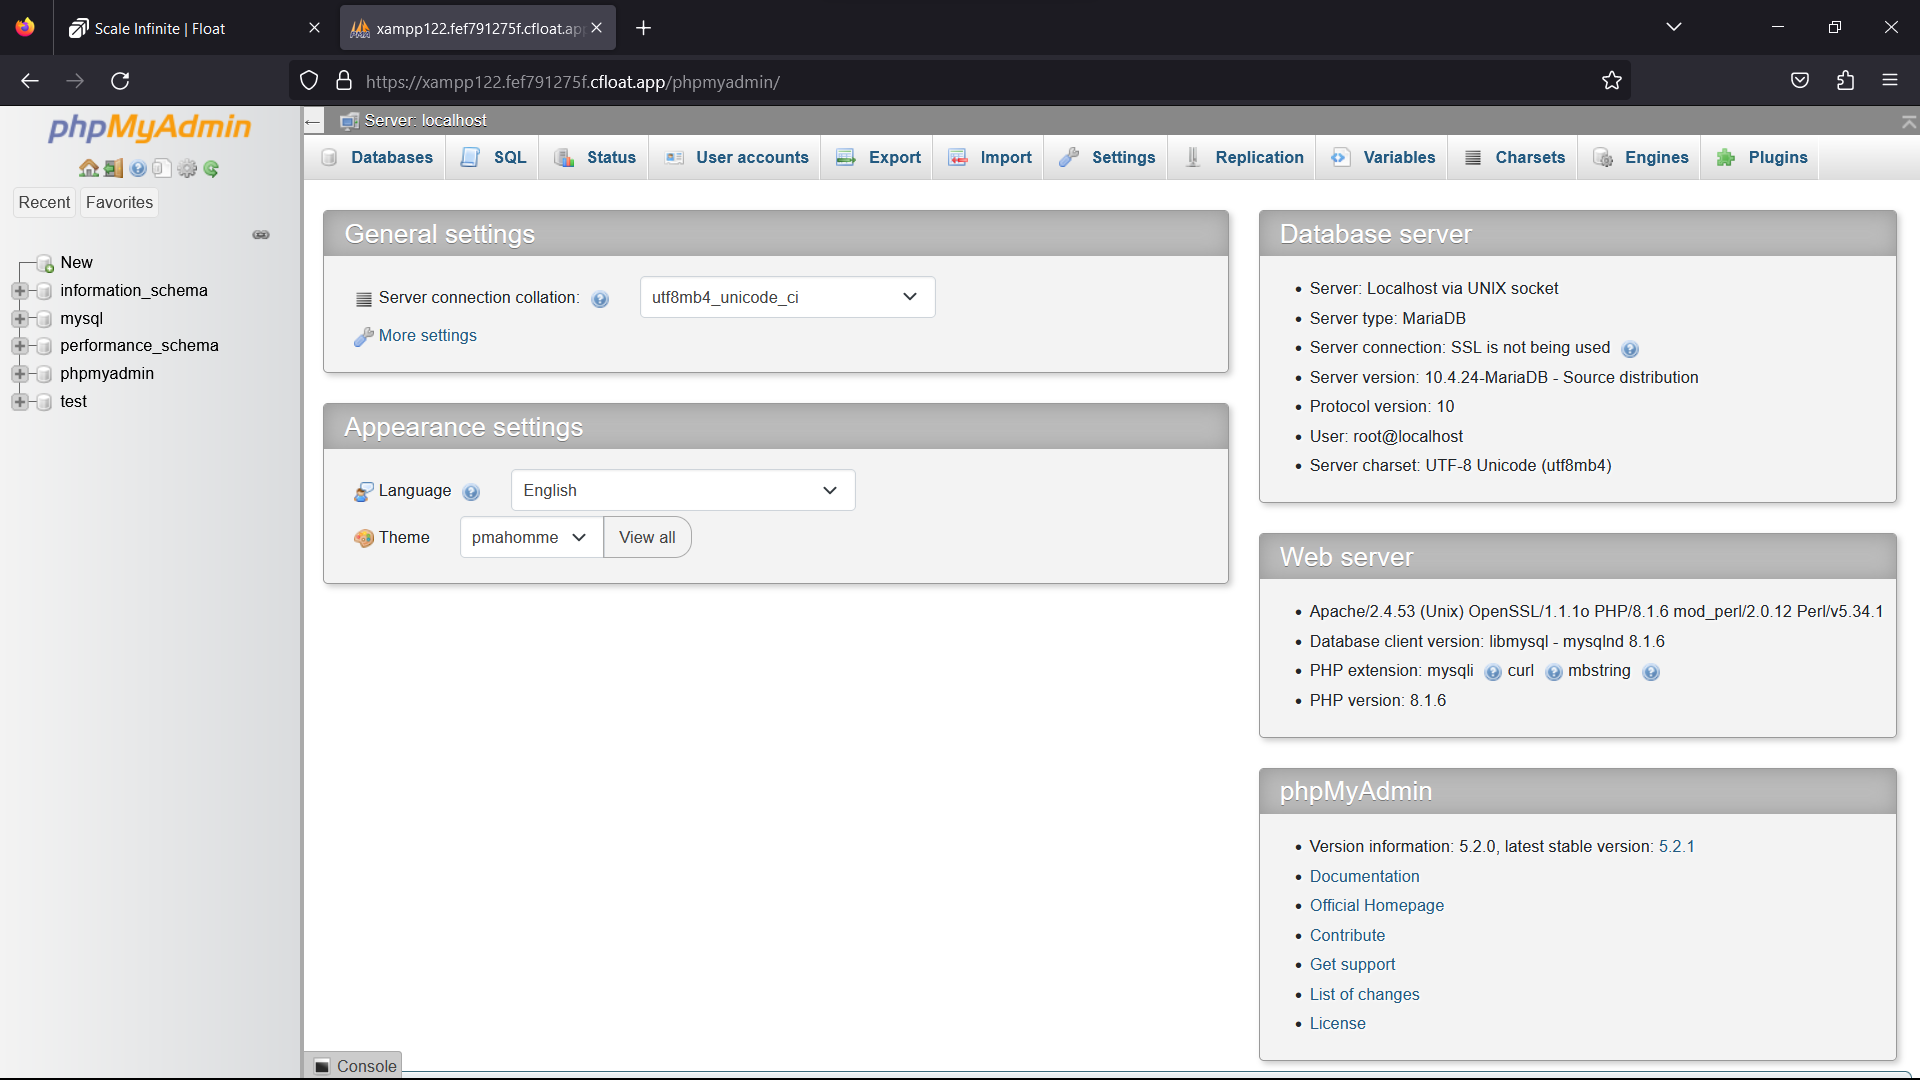
- Voilà! You're now able to access the xampp webpage and explore its content.
Visual Snapshots


Youtube Tutorial
Check out our youtube video for more clarification.
FAQ
For Detailed FAQ please vist this page: FAQ
Join us
Stay informed and engaged with our project's latest developments and support on Slack. Join us today to connect, collaborate, and keep the momentum going!
Category
Kubernetes, cloud computing, DevOps, cloud services, hosting platform, container orchestration, cloud infrastructure, cloud deployment, cloud management, cloud technology, cloud solutions, , database, xampp