WordPress SQLite
What's WordPress SQLite?

WordPress is a free and open-source content management system written in hypertext preprocessor language and paired with a MySQL or MariaDB database with supported HTTPS. SQLite is an open-source SQL database system that stores data in a text file on a device. It provides a simple and efficient way to manage and retrieve structured information locally.
Key Points:
- Open-Source SQL: SQLite is freely accessible, offering SQL database capabilities for local storage.
- Text File Storage: Data is stored in a single text file, eliminating the need for a separate server.
- Lightweight: SQLite is compact, making it suitable for applications with limited resources.
- Embedded Database: It's integrated within the application, not requiring a separate database server.
- Self-Contained: The entire database is contained within a single file, enhancing portability.
Working in Brief:
- Database Creation: Applications integrate SQLite by creating a database file.
- Table Structure: Define tables with columns to structure the data.
- Data Storage: Insert, update, or delete data within the tables.
- SQL Queries: Utilize SQL queries to retrieve specific information from the database.
- Local Retrieval: Applications access data directly from the local SQLite file.
SQLite offers a convenient solution for applications that require structured data storage without the complexity of a traditional database system. Its lightweight nature and self-contained design make it an ideal choice for various applications.
Steps And Procedure
For Detailed steps and procedure please vist this page: Click here
Docker image of this application consists of following layers :
'FROM wordpress:latest' Taking Wordpress as the base image

Used PHP scripts to 'install' the SQLite plugin and setting up the database so that the wordpress will recognize the sqlite database.
Deploy Wordpress SQLite on Scaleinfinite
- Go to create apps page and Search scaleinfinite/wpsqlite on the search bar.
- Click on install button.
- Fill all the required fields.
- click on Advanced.
- Click on the Install button.
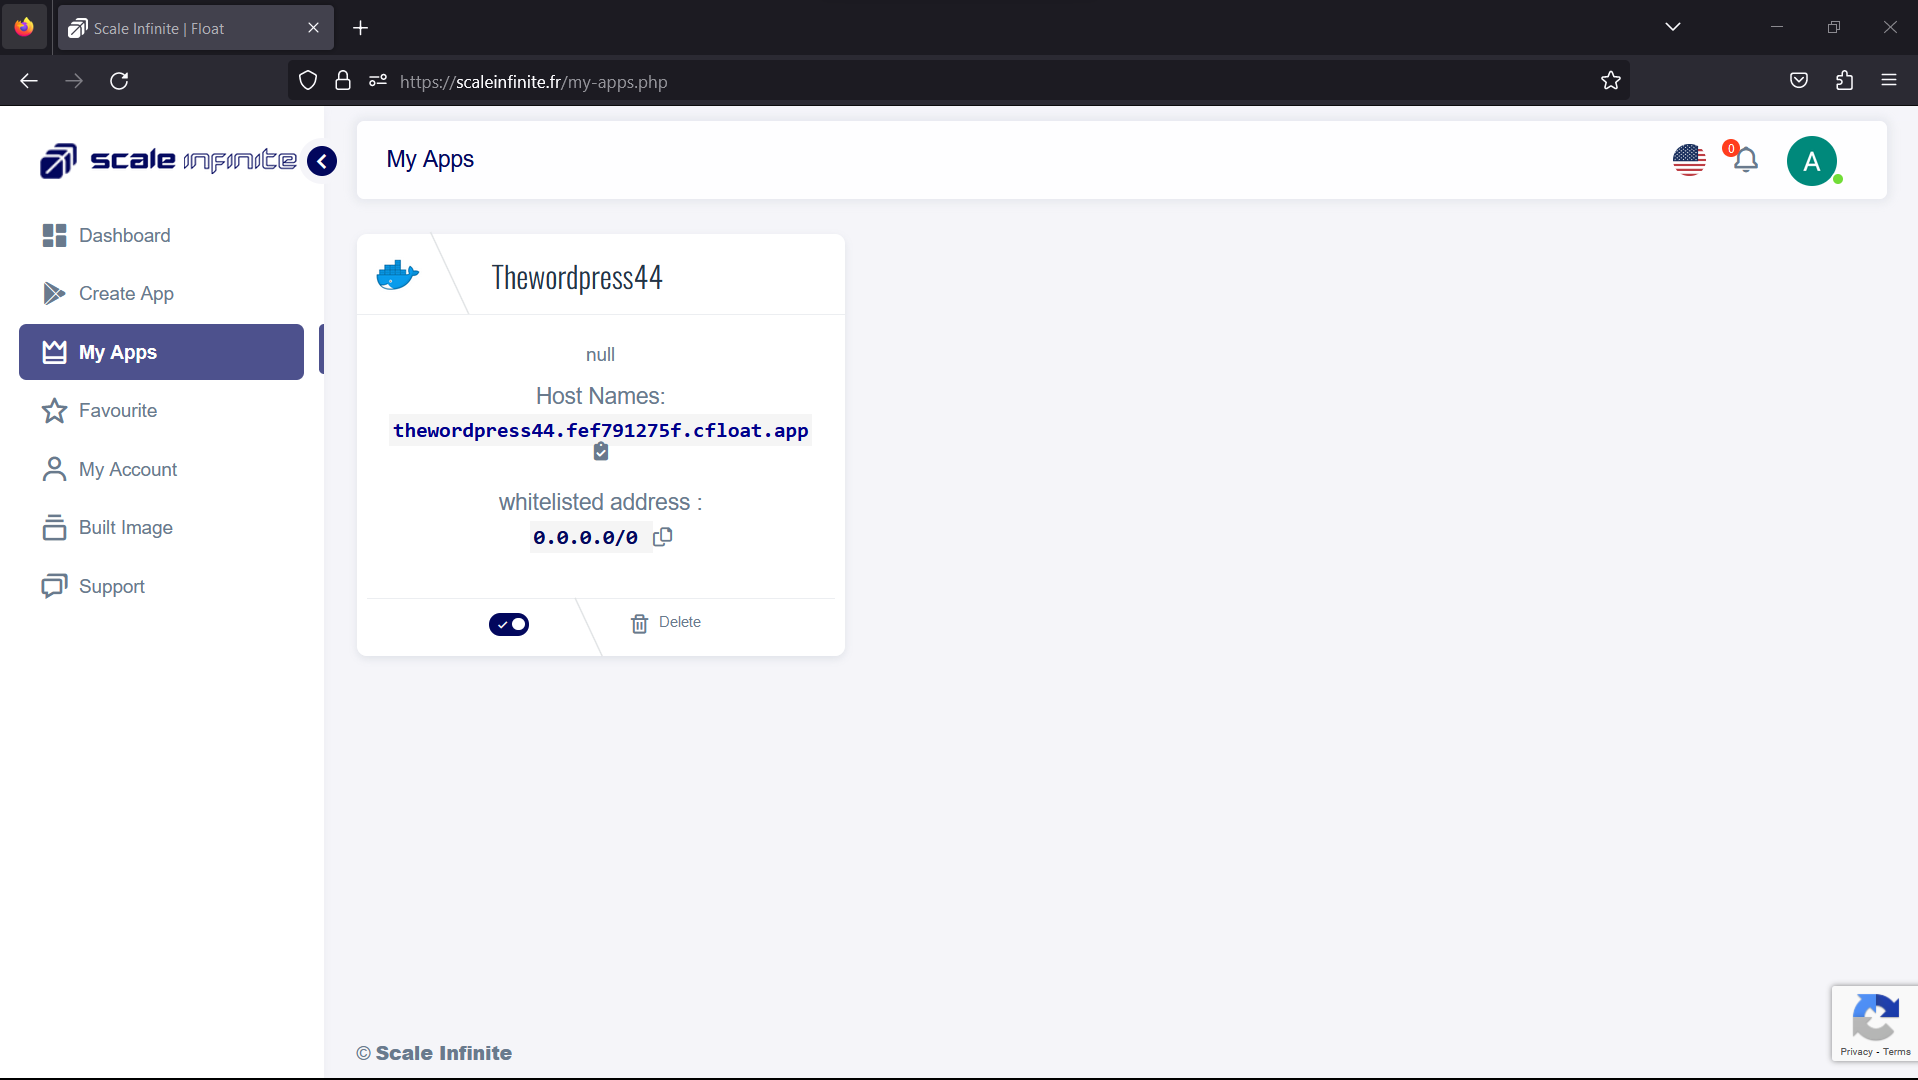
- You will be redirected to My Apps page, Here you can find all the applications you deployed.
- Copy the wpsqlite application Hostname without NodePort and search the Url.
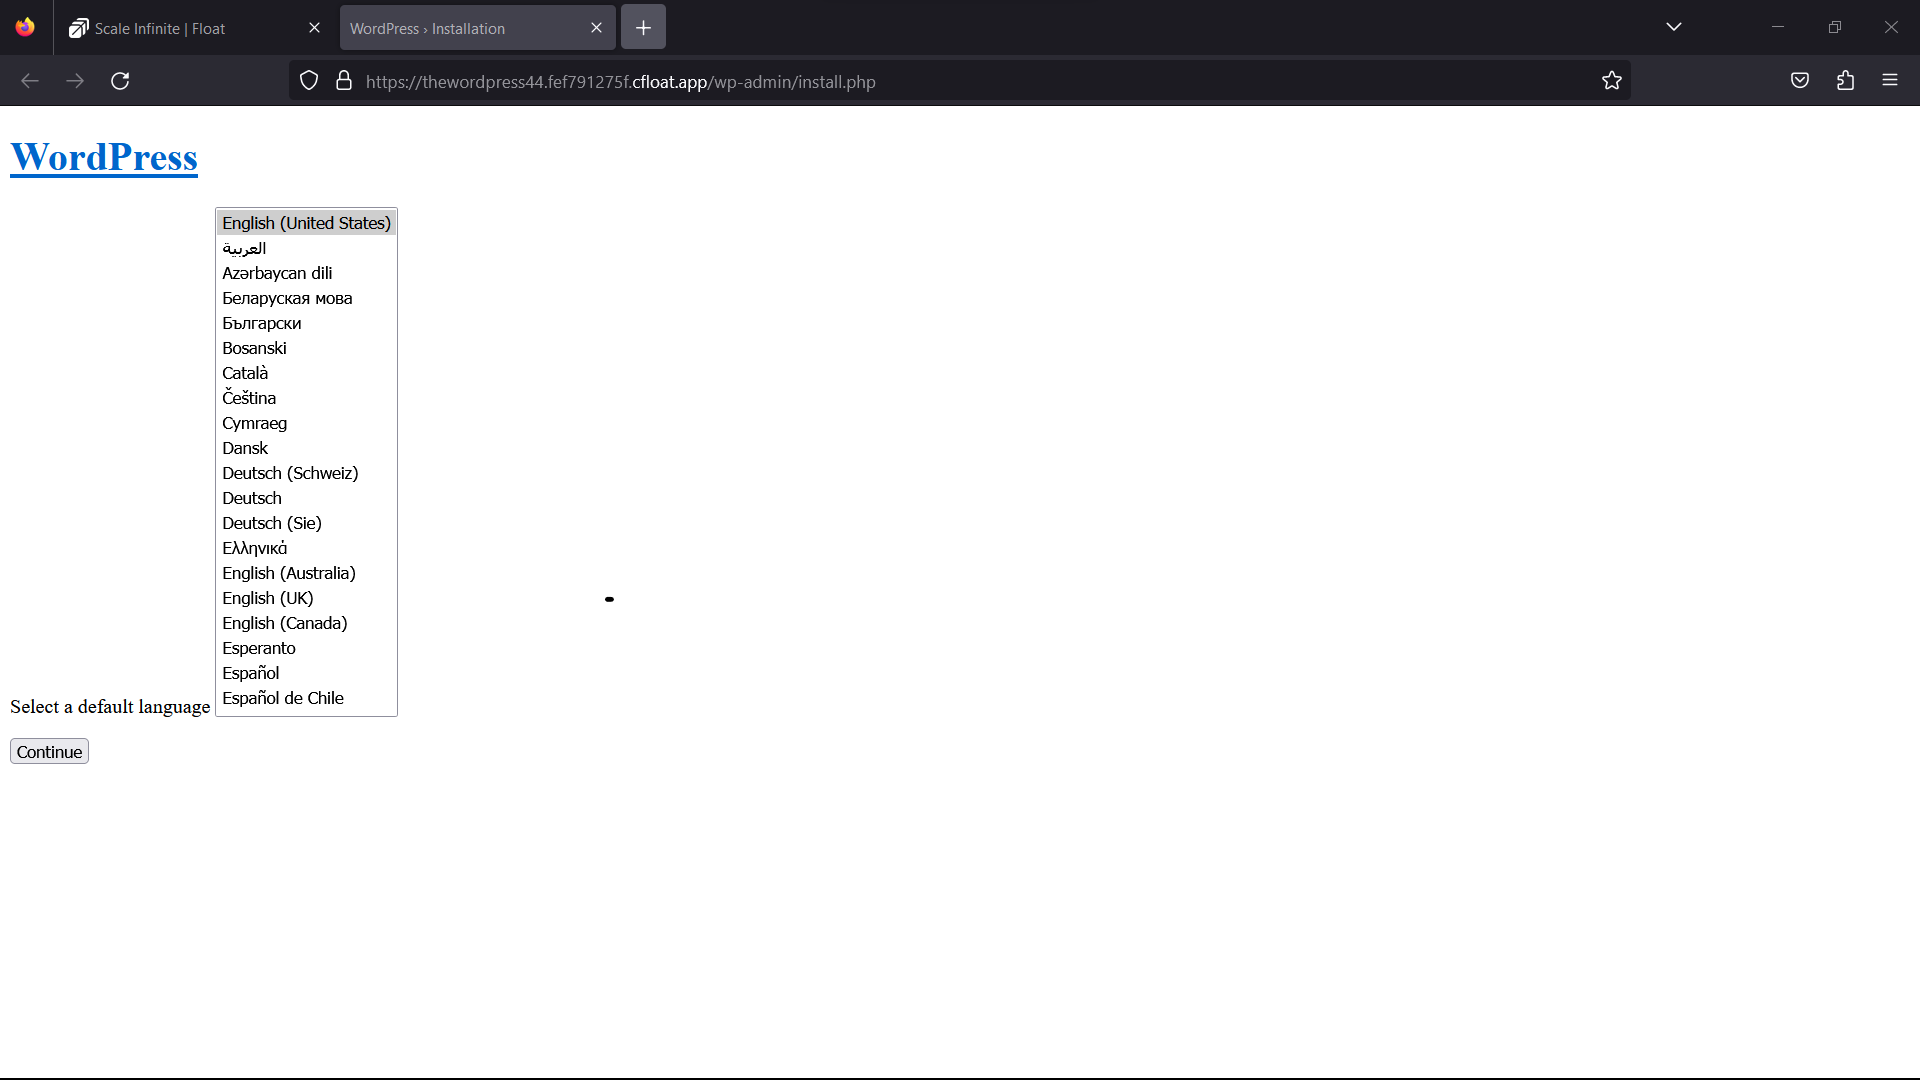
- Now you can see the wordpress language selection page.
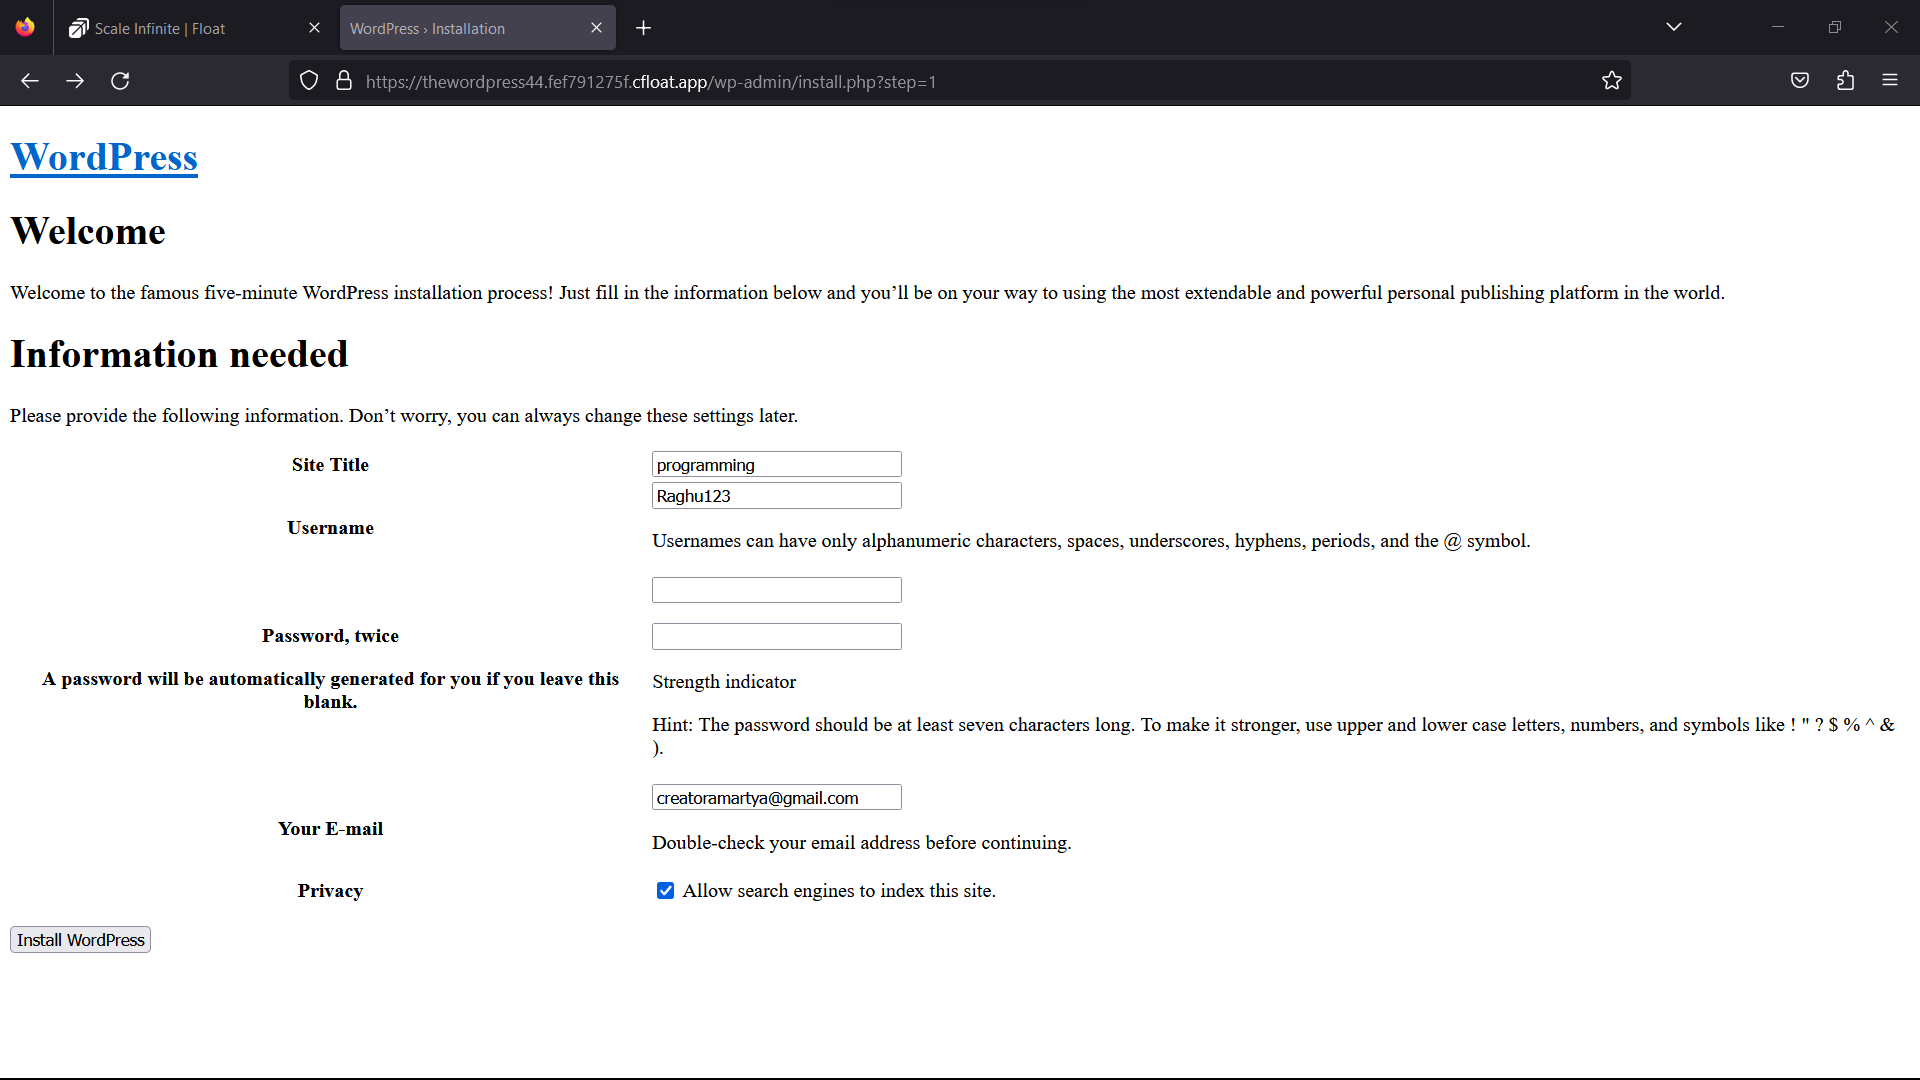
- After selecting language you will be directly redirected to site creation page and fill all the fields like site name and username and so on.
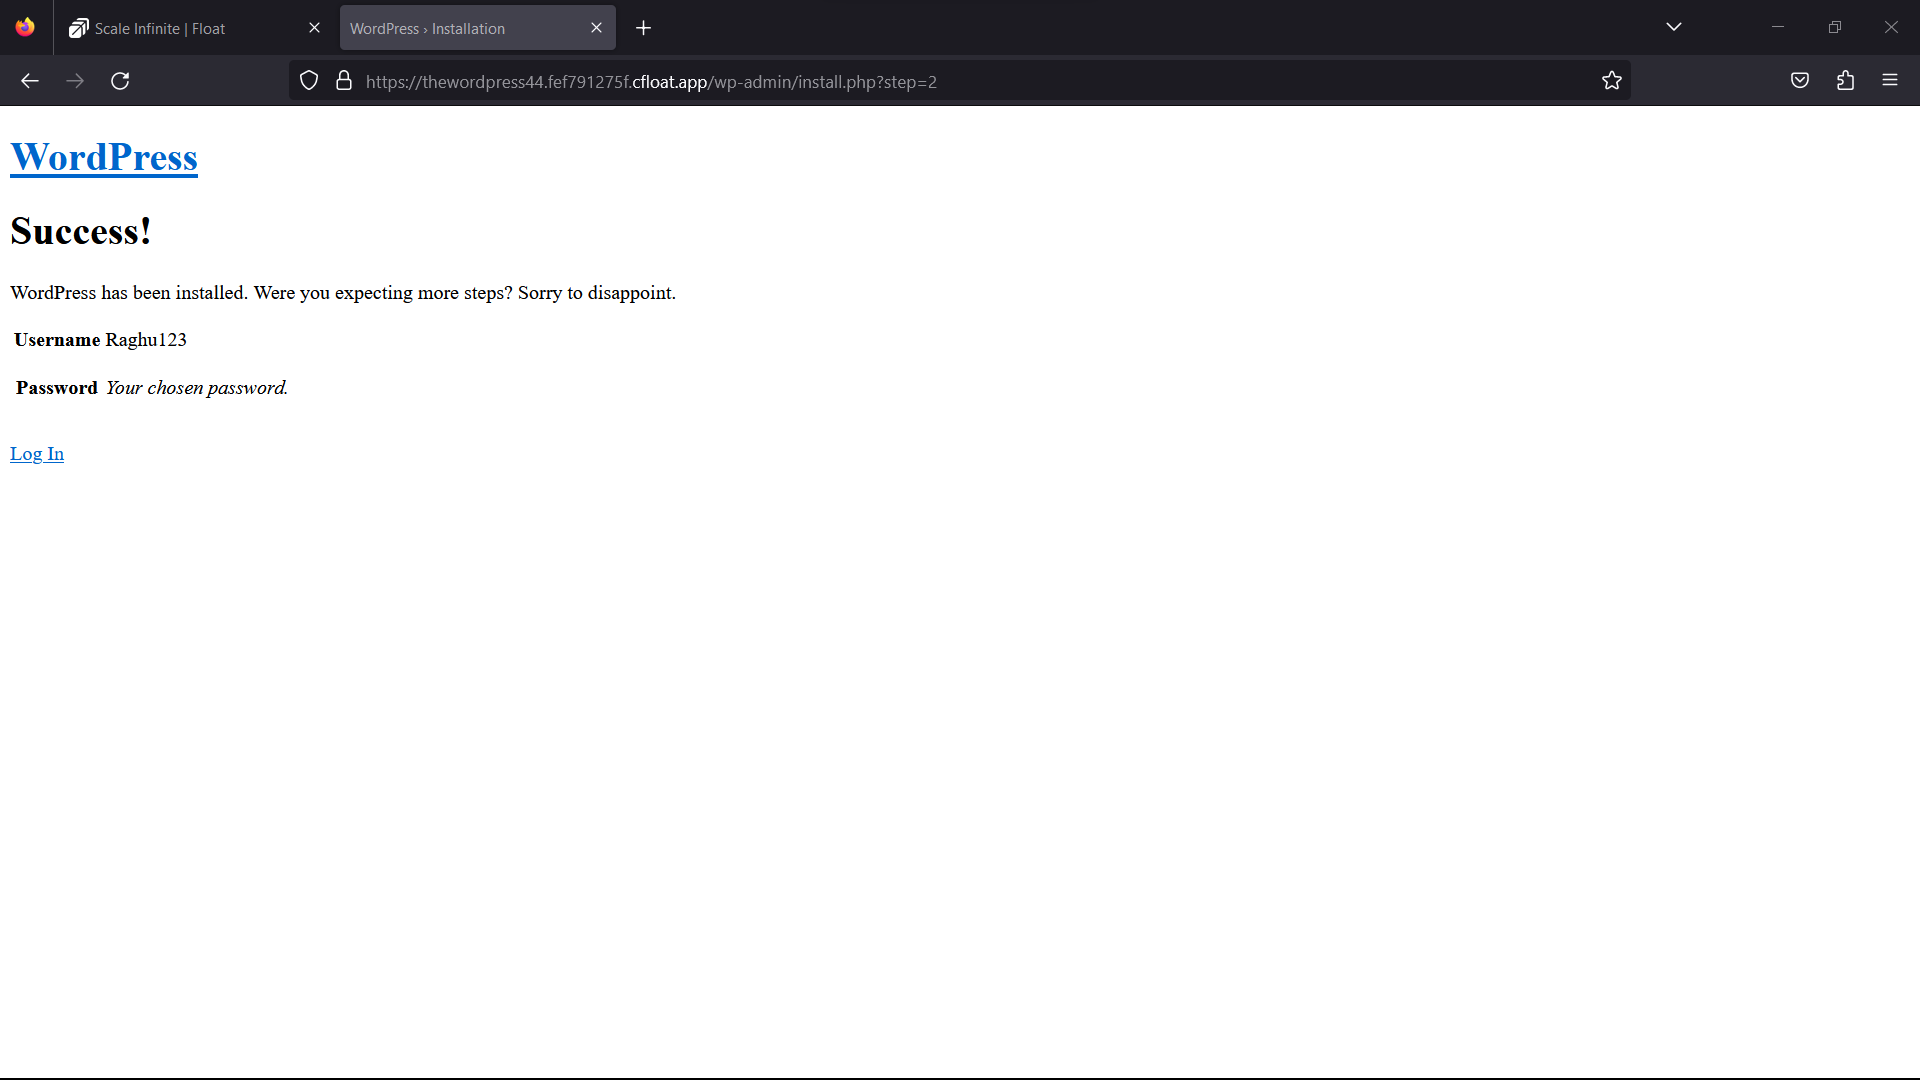
- Then Login with that detials.
- Then you will be redirected to the wordpress Admin dashboard.
Installation
| Docker Image |
|---|
Wpsqlite👈(click me,for the dockerhub image) |
| Application name |
|---|
| Eg: wordpress1(you can put any name) |
| Resource Allocation |
|---|
| 0-100%(10 % of your allocated resources (CPU, RAM) will be used for this application.) |
PROTOCOL
| Protocol | Protocol Value |
|---|---|
| Http | 80 |
| Tcp | - |
| Install with Default | Advanced |
|---|---|
| (select this if you want install with default settings if don't have environment value and working directory) | (select this if you want to go with advanced settings, where you select you own environment value and working directory) |
If you choose Advanced option:
| ENV VARIABLE |
|---|
Give env variable. Eg:key==value |
| WORKING DIR |
|---|
WORKDIR for the application. Eg:usr/src/yourAPP |
Access
| Public | Private |
|---|---|
| (select this if you want to make it public) | (select this if you want to make it private) |
Visual SnapShots


FAQ
For Detailed FAQ please vist this page: FAQ
Join us
Stay informed and engaged with our project's latest developments and support on Slack. Join us today to connect, collaborate, and keep the momentum going!
Category
Kubernetes, cloud computing, DevOps, cloud services, hosting platform, container orchestration, cloud infrastructure, cloud deployment, cloud management, cloud technology, cloud solutions, wordpress